NexgenTM utilizes a blend of FlexorTM asphalt with post-consumer or post-industrial, recycled polymers. The use of recycled polymer is the next step in the ongoing effort from Malarkey to promote sustainable roofing materials while maintaining a high level of quality. This progressive approach improves asphalt flexibility, granule adhesion, cold weather installation and impact resistance while promoting sustainable product design.
We offer the following three types of shingles. Click any image below to know more details.
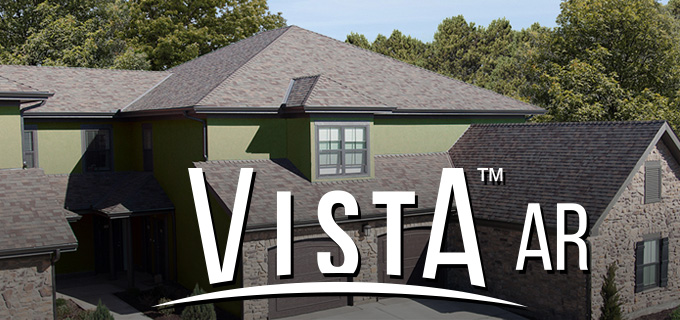
Vista™ AR is an architectural shingle featuring sustainable Nexgen™ asphalt and security against algae staining.
View Details
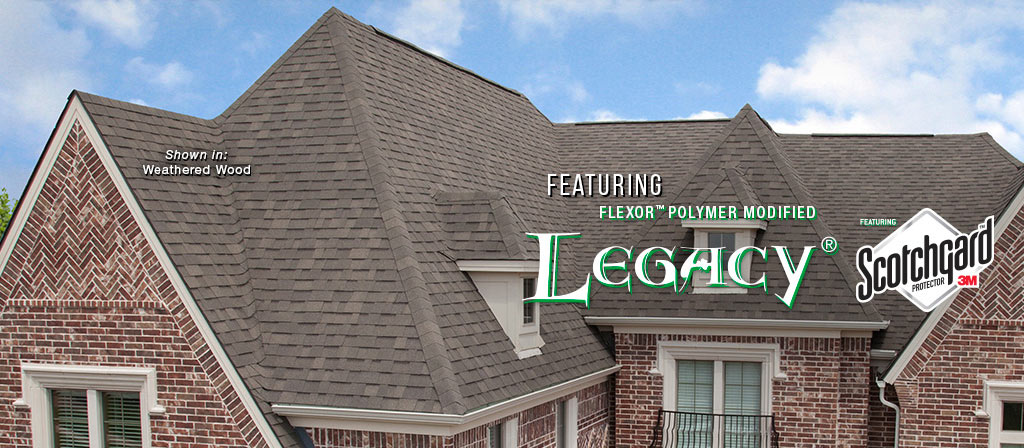
Legacy® is an architectural shingle featuring durable Flexor™ asphalt and Scotchgard™ Protector.
View Details

The Ornate™ AR is a hexagonal shingle featuring sustainable Nexgen™ asphalt and security from algae staining.
View Details
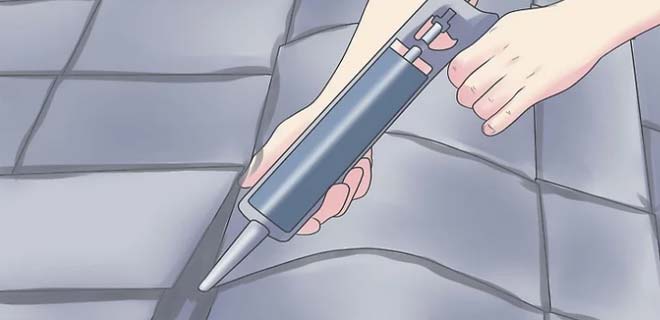
Step 1: Cut your starter-course shingles if necessary
If you are making your own starter shingles, cut the tabs off for the "starter course" (bottom row) of shingles. To prepare the tabs and lay the starter course, shorten the first starter shingle by few inches (or about a half of one tab).Place the glue strip at and all along the drip edge, and the rake edges as well. You will shingle over this starter course, so the bottom course will be double thickness.
Step 2: Cut five different lengths for staggering slots
To make sure you've got the right sizes to lay courses correctly, cut several sizes of shingles from the three-tab variety you purchased. Cut off one-half tab-width of the first tab to start the first course. Each cut is needed to shift the slots of the shingles on the course of shingles a 1/2 tab from aligning with the slots in shingles above and below. Keep all scrap, especially any single tabs for use on the ridge cap shingles. Make the following cuts:
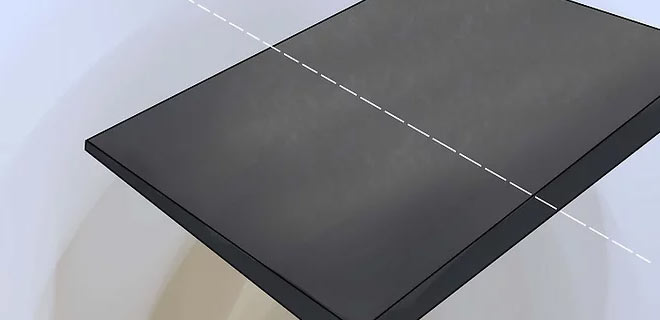
Step 3: Start laying courses
Nail the "cut off shingle" into place, about 6 inches from its lower edge. Hammer in one nail about few inches from each end of each shingle and another nail about 1 inch above each cutout. Make sure to keep nails out of the tar strip as you work.
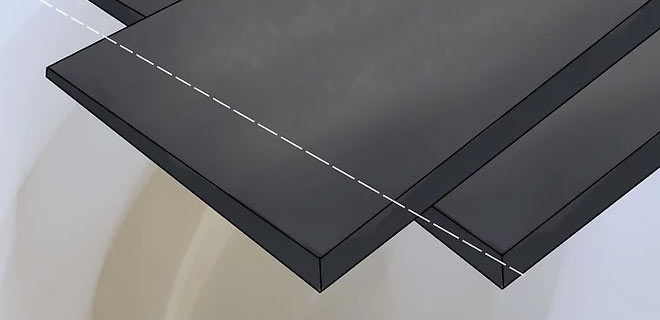
Step 4: Butt a full shingle up against the cut shingle and nail into place
Repeat this basic pattern, alternating shingles across the roof, working toward the right side, using the chalk line to keep the shingles straight horizontally.
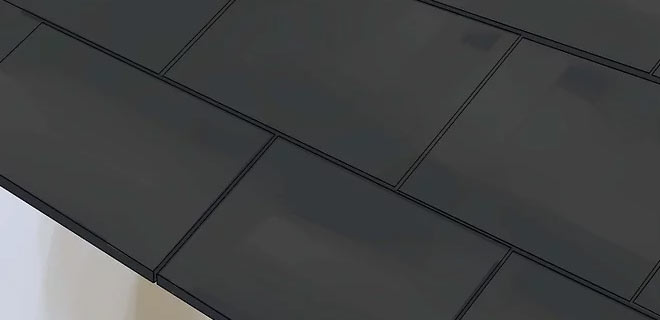
Step 5: Cut the last shingle to the size you need when you reach the end of the row
You can let the excess extend off the side end of the roof and trim it down after it is nailed on, if you like. Continue this process to the 5th row, then begin the same process as the first row beginning with a full shingle, and a chalk mark. Repeat all of the way to the ridge.
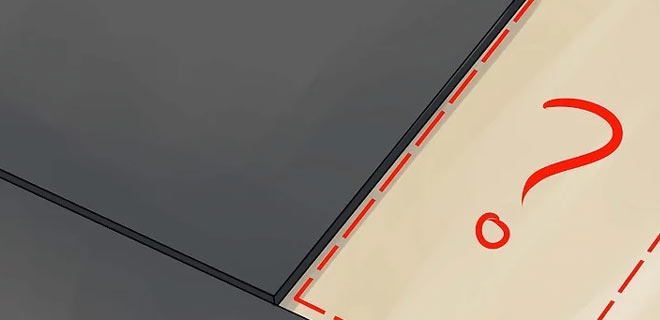
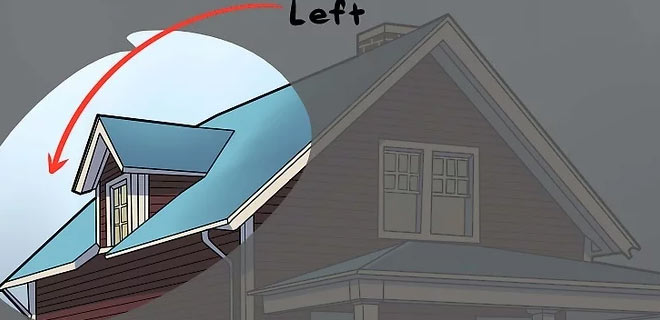
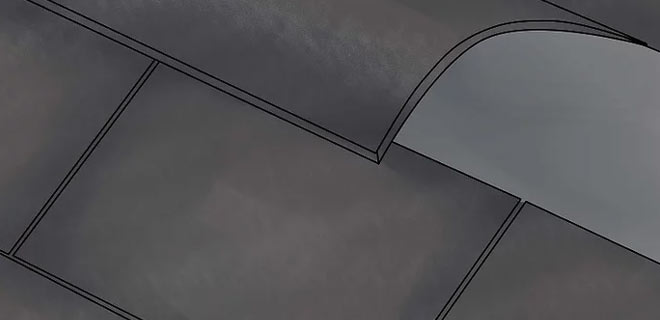
Step 6: Install the last course
Bend the last course of shingles over the ridge, up to about 6 inches, and nail it onto the other side so that the roofing extends over the top of the ridge, where nails will be covered, leaving no exposed nails. However, do not do this if a ridge vent system is being installed as well. Nearly all modern roofs use ridge venting – the sheeting stops short on each side. End your final shingle row here, using the hook-blade for cutting. To cover the ridge, install vented cap shingles or continuous ridge vent.
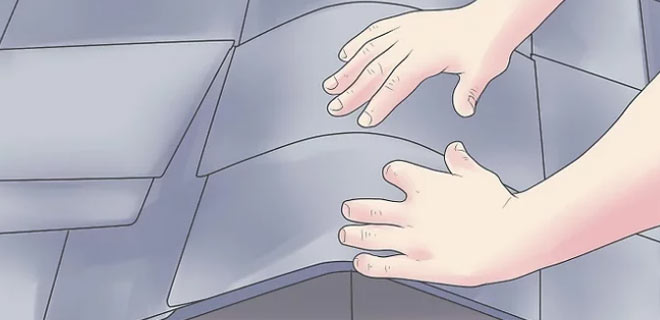
Step 7: Install the ridge shingles
With the asphalt granules exposed, across to the other end, nail the shingles on both sides of the ridge as before. Cut off the asphalt nail line from a ridge shingle when you get to the other end.
Step 8: Apply a heavy bead of asphalt cement
Dot the cement under and around the edge of the last ridge shingle where you removed the nail line. Nail at the four corners to the end of the ridge, and always add a little dab of tar to cover the nail heads.